Prerequisites to integrate highlight.js with ckeditor 5
To make your code beautifully highlighted using ckeditor as a text editor you will have to use some of the available third party syntax highlighting packages. Probably the most popular one is the highlight.js. It's frequently updated and covers more that 100 languages that's why I chose it.
To make highlight.js work with your ckeditor 5 you will have to use the official code block plugin for ckeditor which is not implemented in default builds. That means that you need a custom build with a such plugin integrated. You can either follow my post explaining how to make custom build or just install a ready custom build from npm which will work excellently in this scenario.
Exemplary post page
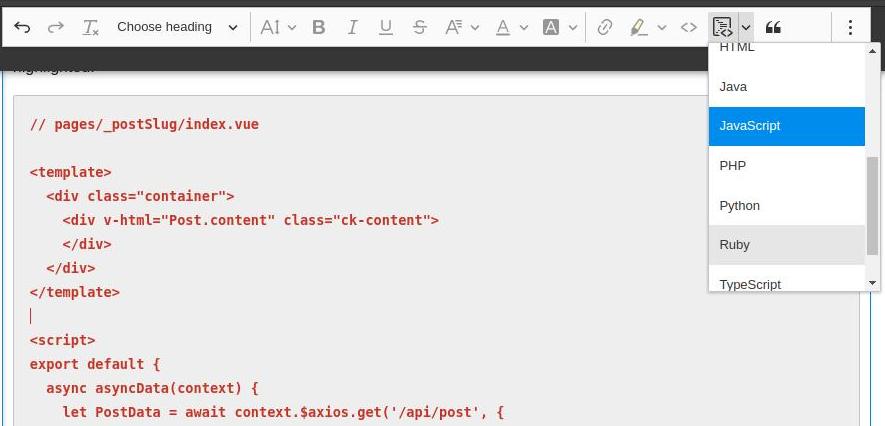
During your work on a post make sure that for every code block you have selected a proper language. This way ckeditor adds a specific class name to your code blocks that can be further read by the highlight.js.

When ready save your data and send it to the server. Overall your whole work with the editor should be saved in the single field - i.e. content.
Now on your post page you can get your previously saved post data and basically you are ready to make your code highlighted. Below is just an example of how it can be done.
// pages/_postSlug/index.vue

<template>
  <div class="container">
    <div v-html="Post.content" class="ck-content">
    </div>
  </div>
</template>

<script>
export default {
  async asyncData(context) {
    let PostData = await context.$axios.get('/api/post', {
      params: {
        slug: context.params.postSlug,
      }
    });
    return {
      Post: PostData.data,
    }
  }
}
</script>
Choose desired code style
Thanks to this section on the official highlight.js website you can get the idea how your code will be seen applying different styles. Choose one which you will use in your app, for now choosing just mean remembering the name of the style. Go to the CDN and in the select field labeled asset type choose styling option. You will get all the available minified styles packages. Copy proper url and paste it in the head section of your page with post. This css will only be downloaded when a user hit a post page which simply means it won't affect performance of the rest of your app. You also need a js file with the highlight.js package it self. This one has to be added in the nuxt.config. Fortunately the minified version doesn't weigh much and covers many popular languages like JavaScript, PHP, Java and many more. If you want to have syntax highlighting for less common languages you will have to add additional js sources (just browse them by the language asset type on the CDN site and paste to the nuxt.config below main highlight package).
// pages/_postSlug/index.vue

export default {
...
head() {
  return {
    link: [
      {
        rel: "stylesheet",
        href: 'https://cdnjs.cloudflare.com/ajax/libs/highlight.js/10.2.0/styles/androidstudio.min.css'
      },
    ],
  }
}
}
// nuxt.config.js
...
head: {
  script: [
    {
      src: "https://cdnjs.cloudflare.com/ajax/libs/highlight.js/10.1.2/highlight.min.js",
      defer: true
    },
  ]
},
...
Initiate highlight.js in nuxt app
Now that you have all dependencies in your page just initiate the module when your page is mounted.
// pages/_postSlug/index.vue

export default {
...
mounted() {
  if(window.hljs) {
    document.querySelectorAll('pre code').forEach((block) => {
      window.hljs.highlightBlock(block);
    });
  }
},
}
Reload your page and you should see a beautifully highlighted code in your posts.
